Set up your PXL Clock
Welcome! Your PXL Clock is ready in just a few minutes. All you need is the app and your Wi‑Fi - nothing else.
1. Get the app
You set up and control the PXL Clock with our free app - pick pixograms, adjust brightness, connect Wi‑Fi and get updates.
- iOS: Download on the App Store
- Android: Get it on Google Play
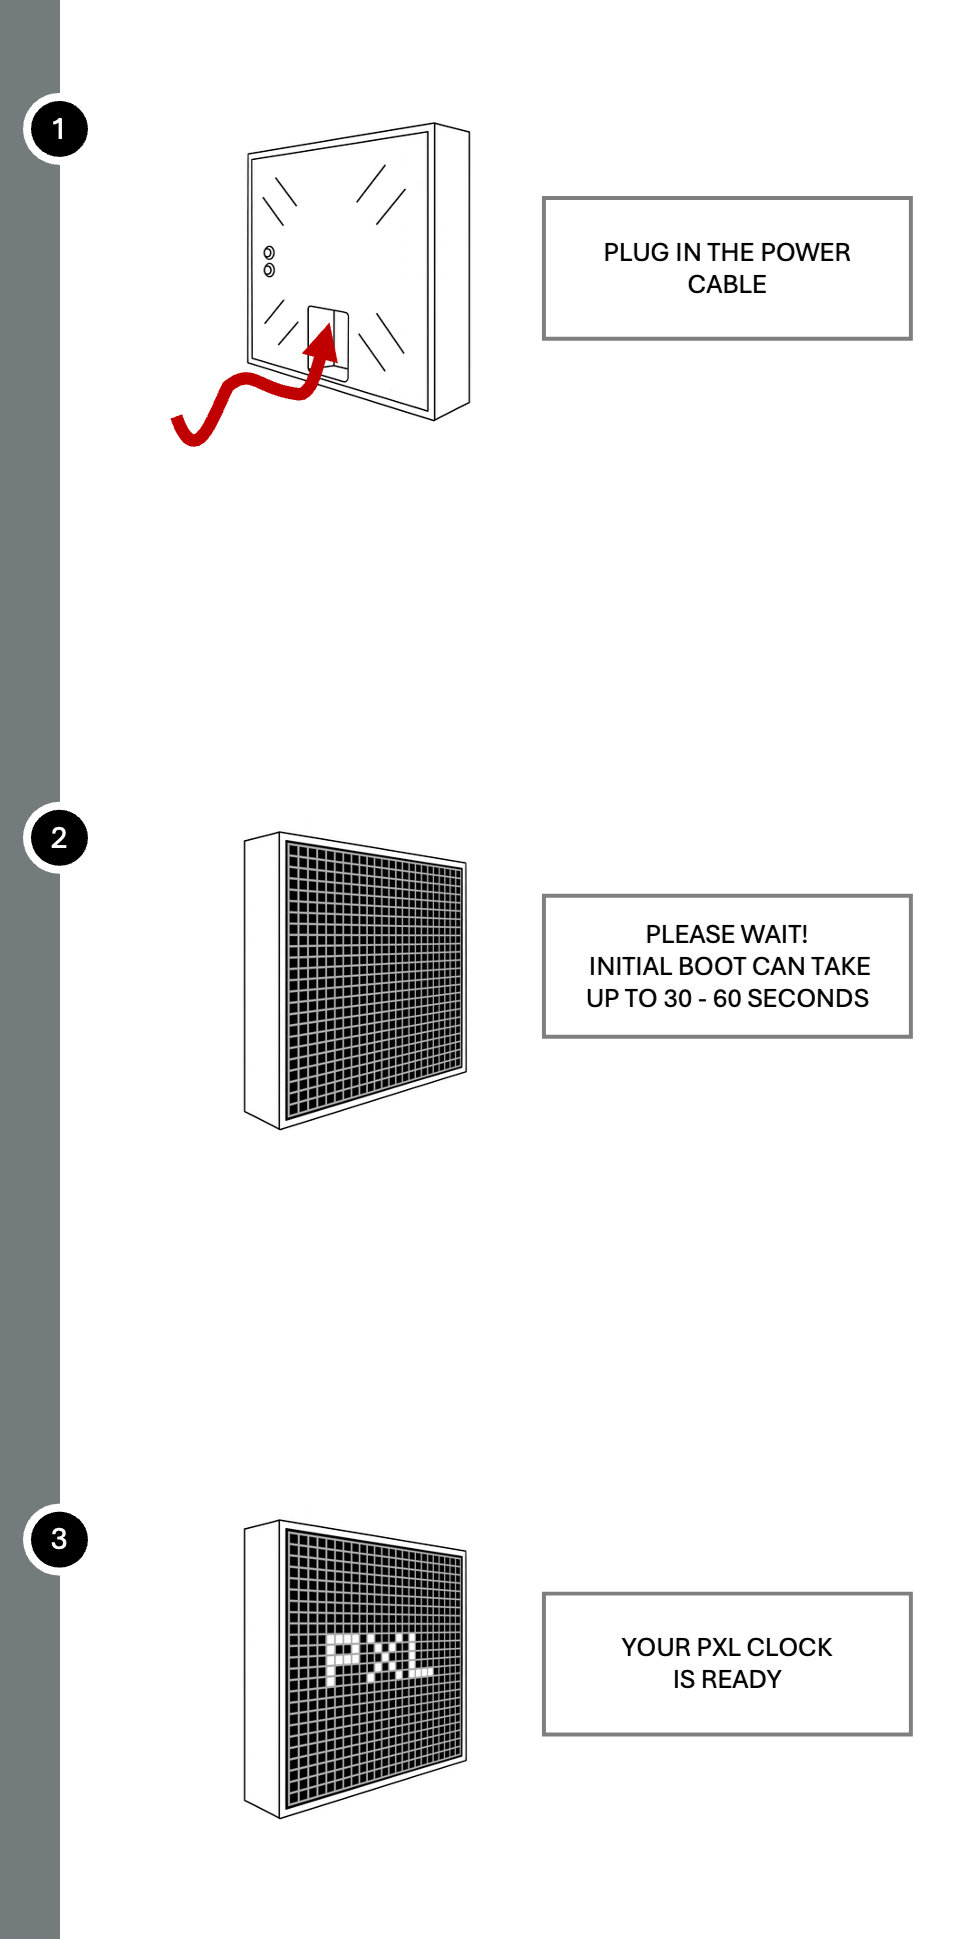
2. Plug it in
Connect the included power cable to the clock and plug it into the wall.
On the very first start it needs a moment - up to a minute. Wait until the PXL logo appears on the display. Then it’s ready.
3. Connect to Wi‑Fi
Open the app and follow the steps on screen. The app walks you through joining your Wi‑Fi - no cables, no technical know-how needed.
Tip: Use a secured 2.4 GHz network (WPA2 or newer). Have your Wi‑Fi name and password ready.
Done 🎉
That’s it. Your PXL Clock now shows the time and your pixograms - and pulls updates automatically over Wi‑Fi (OTA), all on its own.
In the app you can switch pixograms anytime, adjust brightness and more. Want to write your own pixograms? Everything you need is at pxlclock.com.
Buttons on the clock
You control everything from the app - but there are two buttons on the back of the clock for quick access:
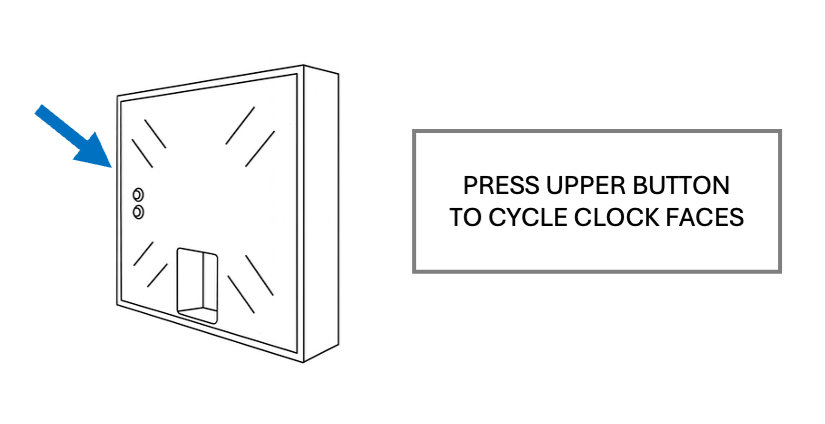
Upper button: cycles through clock faces / pixograms.
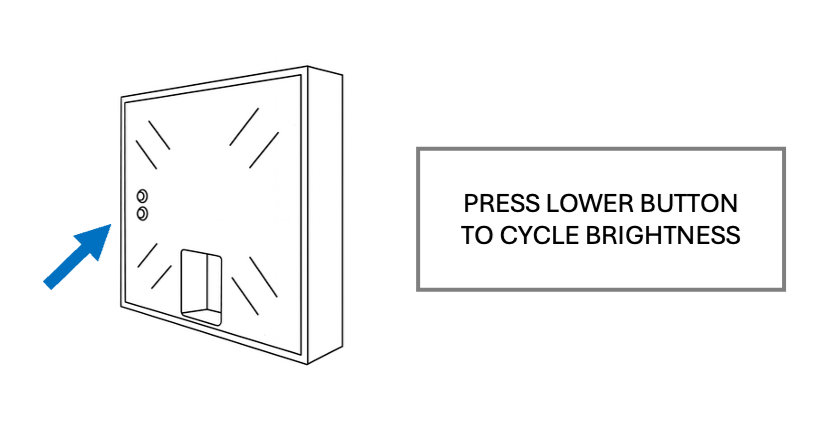
Lower button: cycles through brightness levels.
Help & community
- Questions? Email us: hello@cuminandpotato.com
- Community & support: Discord
- Safety & compliance: Safety information